Add a Spend: Automatic Upload
Upload an invoice and Hai Helper extracts the details for you. Check everything, save the provider for next time, and add it as a spend.
Step-by-step guide
-
Open Spend Management 0:08
In the left-hand menu, go to Spend Management, below Dashboard and Budget Tracking.
-
Choose how to add your spend
You can add a spend two ways:
- Automatic — upload an invoice and Hai Helper extracts the details for you. This guide follows this option.
- Manual — enter the spend details yourself.
-
Open Add Spend 0:17
At the top of the page, next to History, click Add Spend. Below that you'll see a box to drag and drop a file, or click to upload from your documents.
-
Upload your invoice 0:28
Select the invoice you want to add, then click Upload on the right-hand side.
-
Let Hai Helper extract the details 0:37
Hai Helper automatically extracts the information from your invoice, ready to add as a spend.
-
Check your spend details 0:45
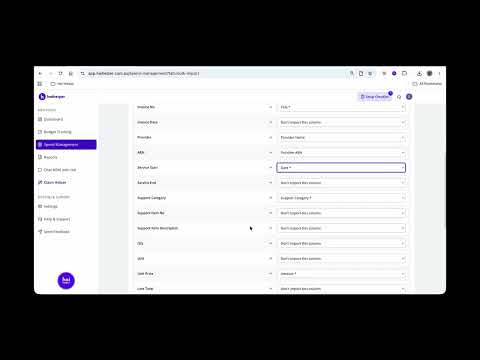
Go through each detail: Invoice title, Support category, Amount, Date, Description, and Provider.
-
Save the provider for next time 0:55
In the middle of the page, you can save the provider extracted from the invoice, so it's ready to pick from next time.
-
Add a Claim ID (optional) 1:04
If you have one, enter it in the Claim ID field.
-
Adjust line items (optional) 1:08
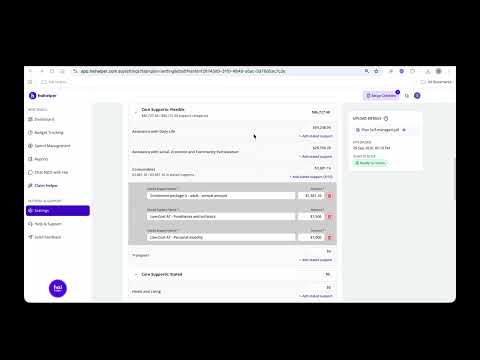
At the bottom, use line items to add or remove individual line items on the invoice.
-
Add your spend 1:17
Click Add Spend in the bottom right of the page.
Tip: Check the extracted details before adding your spend — especially the amount and support category — Hai Helper reads the invoice for you, but you're the final check.
Still stuck after watching this? Our team can help directly.
Contact us →