Add Your Plan: Upload and Autofill
Upload your NDIS plan PDF and Hai Helper reads it in, fills in your budget amounts for you, and you check everything before saving. Takes about a minute.
Step-by-step guide
-
Open the main menu 0:00
Once you're signed in to Hai Helper, the main menu runs down the left side of the screen: Dashboard, Budget Tracking, Spend Management, Reports, Chat NDIS with Hai, Claim Helper, Settings, Help and Support, and Send Feedback.
-
Choose how to add your plan 0:16
In the middle of the screen, select one of two options to add your plan:
- Upload and Autofill (the purple button) — upload your plan PDF and let Hai Helper read it in for you. This guide follows this option.
- Enter Manually — type your plan details in yourself.
-
Or just start chatting
You'll also see a Chat with the Hai Companion option on this screen — it's available straight away, but it's for chatting with Hai, not for adding your plan.
-
Upload your plan PDF 0:39
Click Upload and Autofill to open your device's file menu. Choose the PDF that holds your NDIS plan, and Hai Helper automatically reads the dollar amounts from your budget.
-
Name your plan 0:58
Enter a name for your plan in the Plan name field, so you can find it again later.
-
Check your amounts
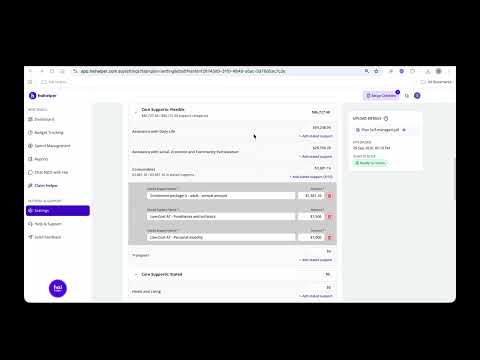
Scroll, or use the Tab key, through every dollar amount to check it matches your plan.
-
Save your plan
Click Save Plan in the bottom right of the screen. Your plan is ready to use.
Tip: Always check the amounts before saving — autofill reads your document for you, but you're the final check.
Still stuck after watching this? Our team can help directly.
Contact us →