Add Your Spend History: Bulk Import
Already have a spreadsheet or NDIS portal CSV of past spends? Bulk import brings your whole spend history into Hai Helper in one go, instead of adding each one by hand.
Step-by-step guide
-
Open Bulk Import 0:08
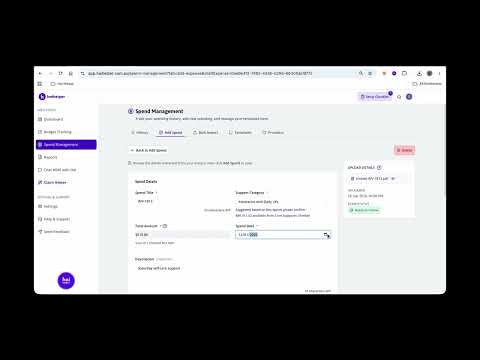
Once your plan is added, go to Spend Management in the left-hand menu. Across the top you'll see three tabs: History, Add Spend, and Bulk Import. Click Bulk Import.
-
Upload your spreadsheet 0:16
Click the upload box, or drag and drop a file straight onto it. You can upload either:
- Your own spend spreadsheet of previous spends.
- A CSV of your claims downloaded from the NDIS portal.
-
Pick the right sheet 0:36
If your file has multiple sheets, pick the one with the most detail about your invoices. If you've split your spending across separate sheets or categories, you may need to repeat the bulk import for each one.
-
Match your columns 0:49
Work down the list, matching each column from your spreadsheet on the left to the column Hai Helper needs on the right. Columns marked with a star are required.
-
Confirm and review 1:14
Click Confirm in the bottom right. You'll then see every spend ready to review before it's added to your plan.
-
Check your providers 1:22
If your file already included an ABN and provider name, Hai Helper matches the provider automatically. Where one's missing, a pop-up opens for that provider — fill in the details and click Add provider at the bottom of the pop-up.
-
Add your spending 1:40
Click Add Spending in the bottom right of the page. Your whole spend history is added at once, and Budget Tracking fills in alongside your plan.
Tip: Bulk import reads your spreadsheet for you, so it's worth checking a few entries afterwards — especially provider names and amounts — against your History tab.
Still stuck after watching this? Our team can help directly.
Contact us →